Photo finish
Jonathan Manning joins a wildlife photography class and learns that better understanding of his camera is the key to impressive images

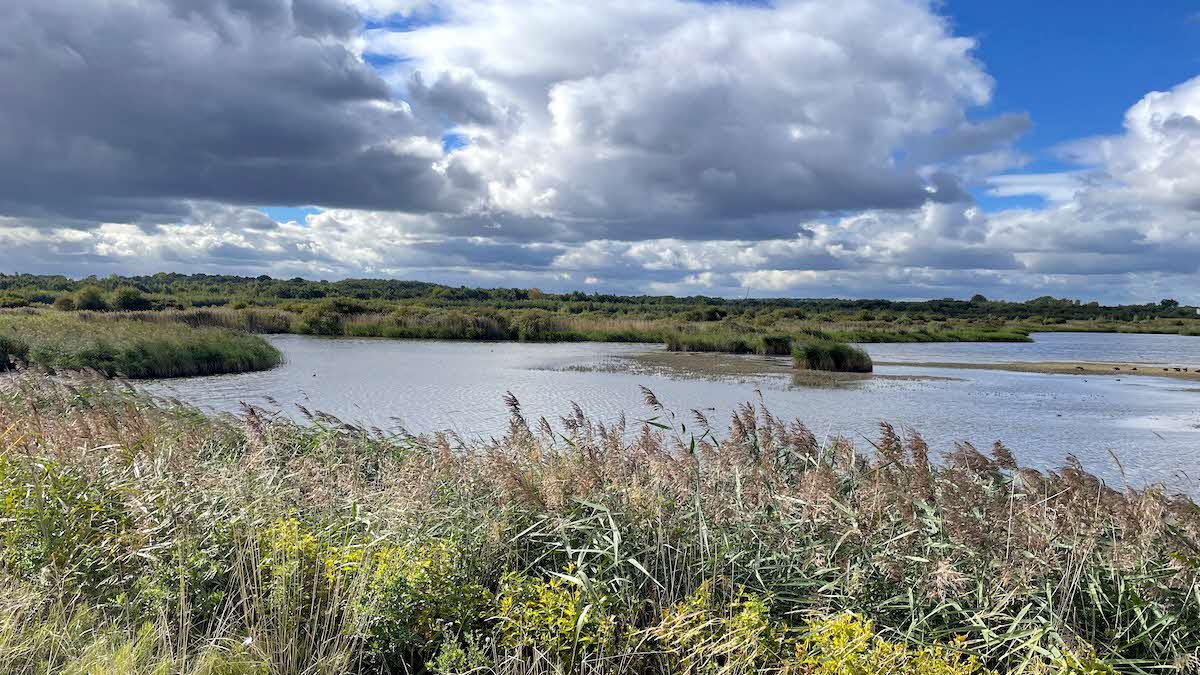
St Aidan's Nature Reserve
There’s a brown blur, a grey smudge, and then a red kite missing the tip of its wing... followed by a seal lost in the shadow of a wave, and a hare that’s harder to spot in long grass than Where’s Wally in a Wembley crowd. Welcome to my portfolio of wildlife photographs, a collection that woefully lacks even a single image that showcases nature at its finest.
Inspired by the annual Wildlife Photographer of the Year competition, with its stunning shots of sea creatures in cobalt blue seas and lions with blood-smothered muzzles, I’m desperate to do more photographic justice to the wildlife I encounter. Every month in this magazine, David Chapman’s eye-catching images prove that you don’t need to tour in exotic climes to see photogenic birds and animals; the challenge is to record them in pin-sharp pixels.
So, I have decided to book a place on an Introduction to Wildlife Photography course at RSPB St Aidan’s, a nature reserve in a former open-cast colliery near Leeds. Old mining machinery still dominates the entrance to the site, but nature has been quick to colonise the new ponds and lakes, with buzzards, kestrels and marsh harriers patrolling the skies, and thousands of ducks and geese overwintering here.
As I arrive, a couple of birdwatchers are peering through telescopes at a little owl perched on a stack of railway sleepers. The reserve is clearly a prime spot to see something worth photographing; the question is whether I can keep it in focus.
Wildlife photography courses are easy to find; they usually start with a classroom briefing, followed by a few hours in a birdwatching hide with an instructor, before returning to the classroom to critique the images and perhaps tweak them on a computer. These can come with a price tag of upwards of £100 for a half day. But at St Aidan’s, a two-hour introductory course costs £25 and offers the modest goal of giving participants confidence to take their SLR cameras off the ‘auto’ setting.
There’s no classroom, but there is a warm welcome as three of us gather on the windy terrace of the nature reserve’s Little Owl Café.
Function keys
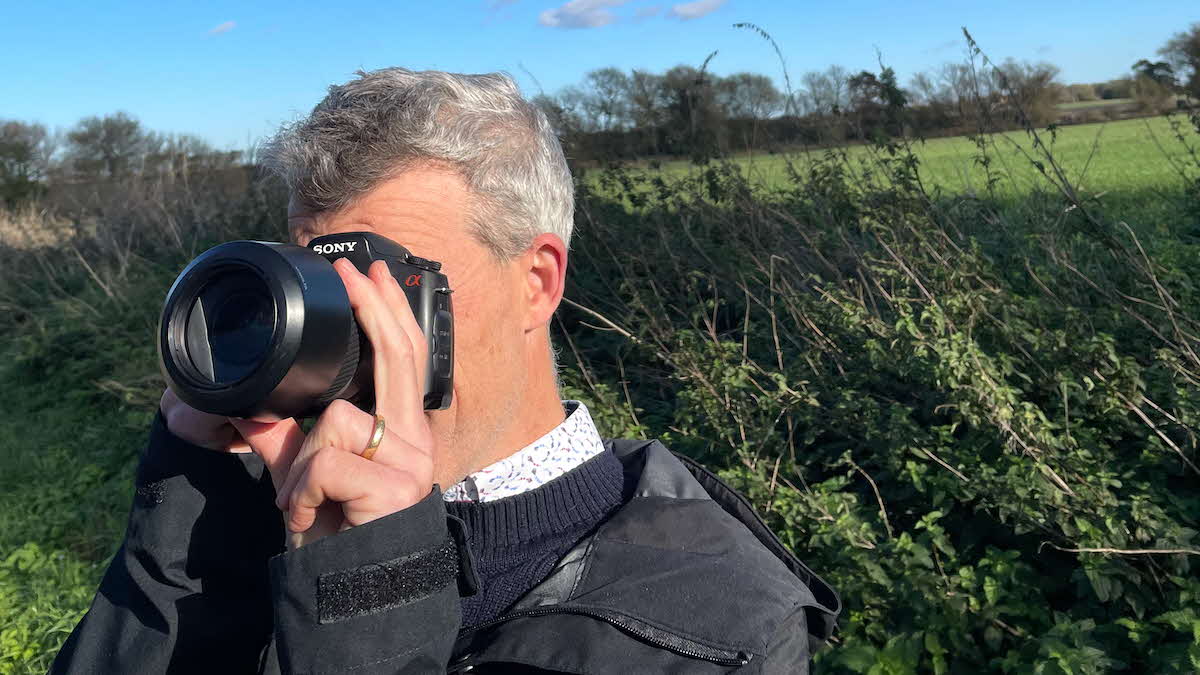
 Jonathan's final image Photography course
It soon becomes clear that getting to grips with my camera’s manual settings will really make a difference, and it’s here that our instructor, Karen Speight, an experienced wildlife photographer and volunteer ranger, starts. The difficulty in a class like this is that every camera is different; buttons and dials are in different places and their functions have different names. Karen’s hand-out notes provide generic guidance for Canon and Nikon models, but they’re not much use for my Sony. The principles, however, are common to every camera.
Taking decent photographs is a ‘balancing act’ between three factors, explains Karen: the shutter speed, ISO and aperture (aka the f-number – see box on previous page for explanations). It turns out that we’ll largely let our cameras determine the appropriate shutter speed and ISO, leaving us to set the aperture.
And perhaps most importantly of all, there’s the composition. As a rule of thumb, Karen suggests that any image that could have a witty title or caption is half way towards being an arresting photo, and she shows how cropping an image can bring distant dots into a starring role (this is where the magnification of a long lens comes into play).
She adds that the more time you spend outdoors watching wildlife, the more attuned to behaviour, habitat and hiding places you become, learning where to look and when to be patient as you seek a knock-out image.
Before we head out to put what we’ve learned into practice, there are two more adjustments to make to our cameras. The first relates to the number of images taken in a burst when the shutter button is depressed. This depends on the camera, but images can ‘buffer’ before they are stored on the memory card, and Sod’s law dictates that the knock-out moment will occur while the camera is disabled in this way.
The second is to silence any beeps that the camera might make while it’s focusing. These are not only annoying to neighbours in a birdwatching hide but could also alarm wildlife – which taps into the final piece of common-sense advice to keep quiet.
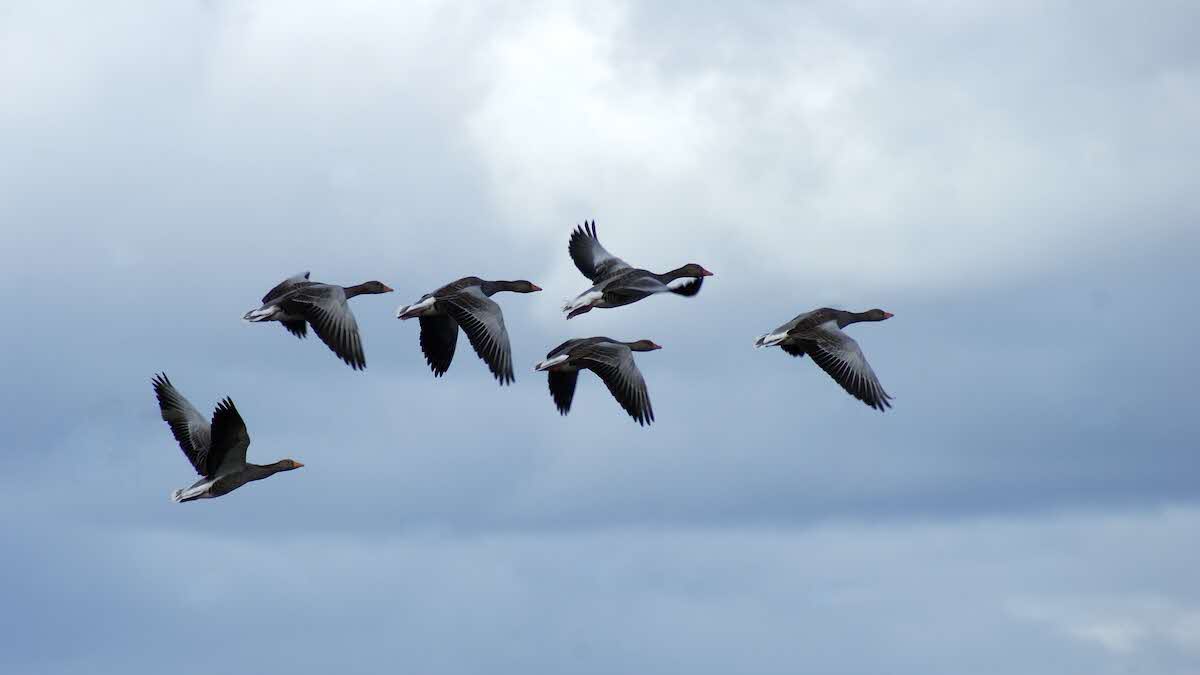
It’s a bright day as we amble down to the reserve, eyes peeled for menacing birds of prey and tropically coloured kingfishers. None appears, but a small skein of geese flies low overhead.
I swing the camera into position, trusting both the settings I made earlier and the camera’s autofocus, and hold down the shutter button. The geese disappear in a wingbeat, giving me the chance to inspect the photos on the back screen. Several are blurred, dark or poorly composed, but one successfully captures the movement, colour and sharp outline of feathers seared on my retinas. At last... a candidate for my wildlife photography portfolio.
Balancing act
A brief guide to three main camera settings;

Shutter speed
This is measured in hundredths and even thousandths of a second. The faster the shutter speed, the easier it is to capture movement with clarity. A slower shutter speed allows more light into the camera –great for dull conditions. As a rule of thumb, your slowest shutter speed should match the length of your lens – 1/300th of a second for a 300mm lens, says Karen.
ISO
The ISO setting prepares the camera for the available light conditions. Bright sunshine goes hand-in-hand with a low ISO of 100-200. For wildlife, an ISO of 400-800 is ideal, says Karen. A night-time shoot, however, would require an ISO as high as 6,400, which creates grainy images with gaps between the pixels.
Aperture (f-number)
The aperture, expressed in a range running roughly from f/4 to f/22, is a relic of the old days of film and determines how much light the shutter lets into the camera. A smaller number, such as f/4, indicates a larger aperture (ie more light) and a shorter depth of field (the percentage of the image in focus). Karen asked us to imagine a procession of four ducks waddling towards us. An aperture of f/4 would only have the first duck in focus; and aperture of f/16 would have all four in focus. For wildlife photography, a low f-number and shallow depth of field puts the bird or animal centre-stage and blurs the background, making it particularly important to ensure the focus is a sharp as possible.
Get the picture
Three more wildlife photo courses to consider…
Lake District, Cumbria
Join photography coach Ian Watts for a six-hour wildlife and nature photography workshop (£85), covering settings and technique, before putting theory into practice at a nature reserve. Followed by a review and feedback session.
Info: lakeland-photo.co.uk
Stay: Meathop Fell Club Campsite
Honiton, Devon
Learn the technical and creative methods to capture great wildlife images on this half-day (£90) or full-day (£180) workshop with instructor Chris Grady. Options include birds in flight and Photoshop techniques.
Info: chrisgradyphotography.co.uk
Stay: Putts Corner Club Campsite
Pensthorpe, Norfolk
Get to grips with the technical side of wildlife photography, such as controlling depth of field, focusing modes for wildlife photography, exposure modes and choosing the right shutter speed on this full-day (£99) course at Pensthorpe Natural Park.
Info: stevehedgesphotography.co.uk, 01245 323519
Stay: The Sandringham Estate Club Campsite


